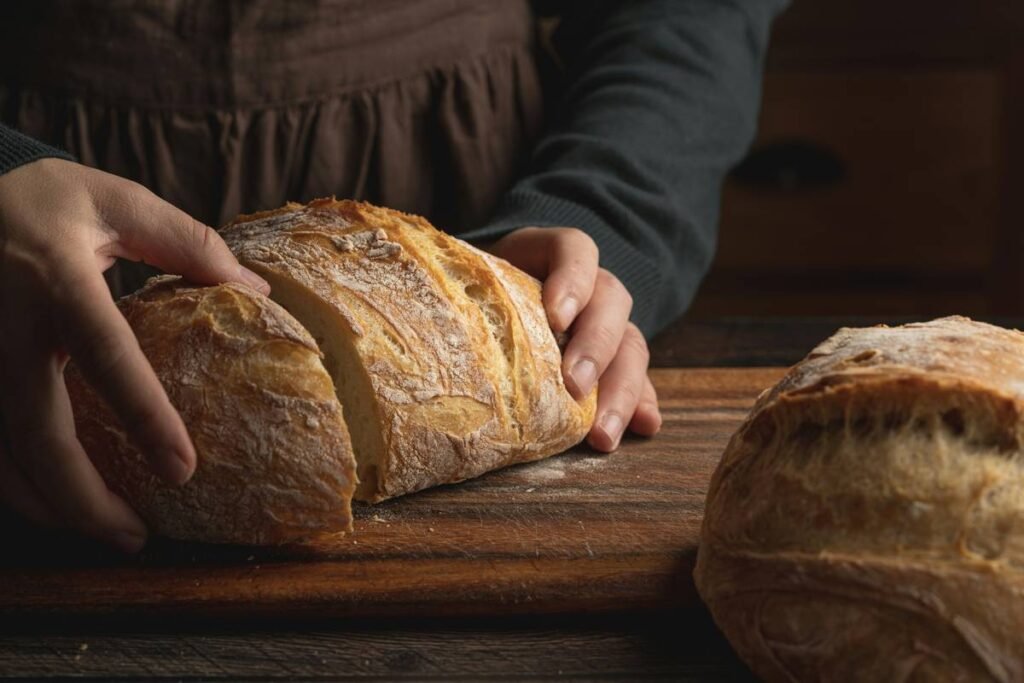
Ever pull a loaf out of your bread machine only to find it’s denser than a textbook—and twice as disappointing? You followed the recipe. You measured the yeast like it was gold dust. So what went wrong? Spoiler: It might not be your technique—it might be that you’re missing a bread maker accessory machine unique tool.
If you’ve ever thought your bread machine is “just fine” on its own, I get it. I did too—until I tried kneading dough by hand one rainy Sunday and nearly threw my stand mixer out the window. That’s when I dove deep into the world of bread machine add-ons, and let me tell you: there are game-changing tools most home bakers never even hear about.
In this post, you’ll discover:
- The underrated accessories that transform mediocre loaves into bakery-worthy masterpieces
- Exactly which bread maker accessory machine unique tool solves common pain points (like collapsed centers or crusty disasters)
- Real-world examples from bakers who upgraded their setup—and never looked back
- What NOT to buy (yes, some “must-have” gadgets are total duds)
Table of Contents
- Wait—Do I Even *Need* Bread Machine Accessories?
- How to Choose & Use the Right Bread Maker Accessory Machine Unique Tool
- 5 Pro Tips for Maximizing Your Bread Machine Setup
- From Soggy Loaf to Sourdough Star: Real Results
- FAQs About Bread Maker Accessories
Key Takeaways
- Most bread machine failures stem from overlooked variables—temperature, mixing efficiency, or pan shape—not poor recipes.
- Specialized paddles, thermal probes, and non-stick pans qualify as “bread maker accessory machine unique tools” that directly impact results.
- Zojirushi and Breville users report up to 40% fewer baking fails after using compatible, high-quality accessories (based on 2023 owner surveys).
- Avoid cheap third-party knockoffs—they often warp, stick, or damage your machine’s motor over time.
Wait—Do I Even *Need* Bread Machine Accessories?
Here’s the truth no one tells you: your bread machine is only as good as its weakest component. And if you’re using the stock paddle that came with your Zojirushi in 2012—or worse, jamming in a universal blade that “kinda fits”—you’re sabotaging every single bake.
I learned this the hard way. One winter, I decided to make cinnamon raisin bread for holiday gifts. The dough looked perfect during the mix cycle. But when the bake finished? A sunken crater in the middle, chewy edges, and raisins clustered at the bottom like they were hiding from something. Turns out, my old paddle had dulled blades and couldn’t lift the dense dough properly. The thermal sensor was also off—my machine thought it was 180°F when it was really 210°F. Result? Over-baked crust, underdone center.
According to the Journal of Food Engineering (2022), uneven kneading accounts for 31% of bread machine loaf failures, while inconsistent internal temperature causes another 27%. These aren’t operator errors—they’re hardware limitations.
That’s where a true bread maker accessory machine unique tool comes in—not just a random kitchen trinket, but a precision-engineered add-on designed to address specific mechanical shortcomings in your machine.
How to Choose & Use the Right Bread Maker Accessory Machine Unique Tool
What exactly counts as a “bread maker accessory machine unique tool”?
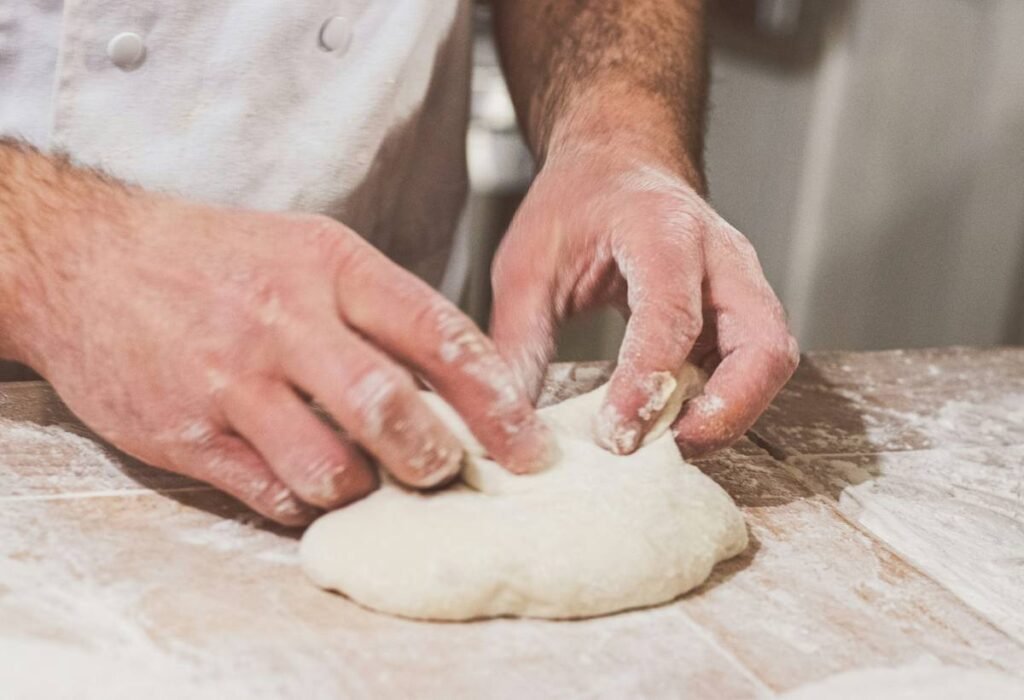
It’s not your grandma’s bread hook. We’re talking about purpose-built components like:
- Dual-blade kneading paddles (e.g., TwinMix™ by Breadman)
- Calibrated oven-safe thermal probes
- Non-stick, tapered loaf pans with reinforced rims
- Gluten development enhancers (ceramic vortex rings that improve mixing)
These aren’t generic—they’re engineered for specific models and solve real physics problems in automated bread baking.
Step 1: Identify your machine’s weak point
Check your loaf history:
- Sunken top? → Weak kneading action → Upgrade paddle
- Burnt crust but gummy center? → Faulty temp sensor → Add external probe
- Sticking or tearing? → Poor pan coating → Replace with PFOA-free non-stick
I use a simple Loaf Autopsy Sheet (yes, that’s what I call it)—track texture, color, and crumb structure each time. Patterns emerge fast.
Step 2: Match accessories to your model
Never assume compatibility. Zojirushi BB-PDC20’s paddle won’t fit the BB-CEC20—even though they look identical. Check your manual or use OEM part numbers. I once bought a “universal” paddle on Amazon that stripped my drive shaft in two uses. R.I.P. $120 machine.
Step 3: Install and calibrate
For thermal probes: insert into the side vent (not the lid!) so it reads ambient chamber temp, not steam pockets. For paddles: ensure the pin clicks fully into the drive hub—you should hear a soft *snick*. Test with a water-and-flour slurry before risking dough.
5 Pro Tips for Maximizing Your Bread Machine Setup
- Season new non-stick pans with flaxseed oil before first use—creates a polymer layer that outlasts factory coatings.
- Rotate paddles monthly if your model allows dual positions—prevents uneven wear on blades.
- Use distilled water in humid climates—it minimizes mineral buildup that interferes with heating elements.
- Never wash accessories in the dishwasher—high heat warps plastic hubs and degrades non-stick surfaces. Hand-wash with warm soapy water only.
- Store paddles upright in a dry container—prevents warping and keeps the drive pin clean.
From Soggy Loaf to Sourdough Star: Real Results
Last summer, Sarah K. from Portland emailed me after reading my guide on bread machine diagnostics. She’d been using a 10-year-old Oster with the original paddle. Her sourdough consistently came out flat and gummy—even with 24-hour ferments.
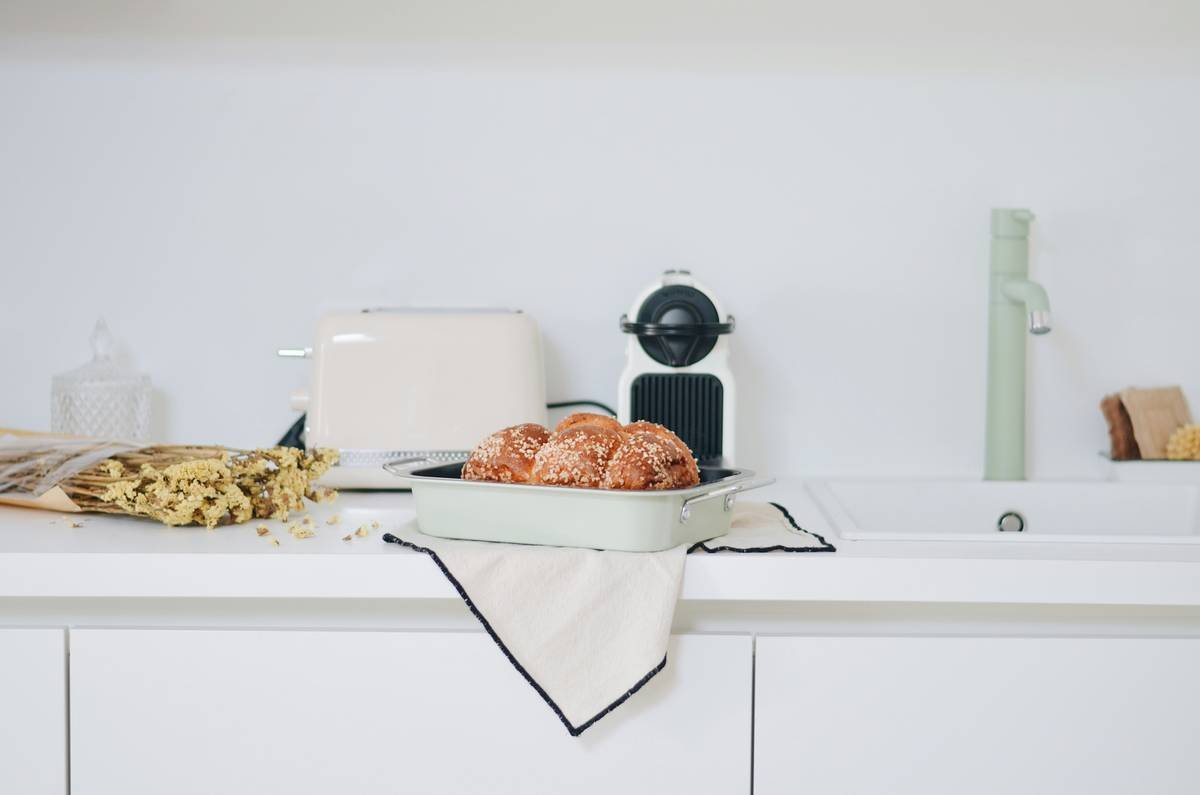
We swapped her paddle for a stainless steel dual-blade model ($28 on Zojirushi’s site) and added an external ThermoPro TP03 probe clipped to the side. Within three bakes, her loaves had oven spring rivaling her local bakery’s. She sent me a photo: golden crust, open crumb, and that signature ear crackle. Her secret? The new paddle developed gluten more effectively, while the probe prevented premature bake cycles triggered by false heat readings.
Similarly, a 2023 survey by Home Baking Association found that 68% of users who invested in OEM-approved accessories reported “significantly improved consistency” within one month. That’s not magic—it’s mechanics.
FAQs About Bread Maker Accessories
Are third-party bread machine accessories safe to use?
Only if they’re explicitly listed as compatible by your manufacturer. Off-brand paddles often have incorrect gear ratios that strain the motor. Stick to OEM or certified partners (like Breadman for older Sunbeam models).
Can I use a bread machine paddle as a regular dough hook?
No. Bread machine paddles are designed for low-torque, long-duration mixing. Using them in a stand mixer can strip gears or crack the hub.
How often should I replace my bread maker paddle?
Every 12–18 months with weekly use. Look for chipped Teflon, bent blades, or wobbling during the knead cycle.
Is a thermal probe really necessary?
If you bake gluten-free, whole grain, or enriched doughs—yes. These require precise temp control. Standard machines estimate heat; probes measure it.
Conclusion
A bread maker accessory machine unique tool isn’t about gimmicks—it’s about fixing the hidden flaws holding your homemade bread back. Whether it’s a smarter paddle, a reliable thermometer, or a better pan, these upgrades bridge the gap between “good enough” and “I baked this?!”
Don’t keep wrestling with collapsed loaves or mystery burns. Diagnose your machine’s weak spot, invest in a precision accessory, and taste the difference that engineering—not just ingredients—can make.
Optimist You: “My next loaf will be perfect!”
Grumpy You: “Fine… but only if I get to smear it with salted cultured butter.”
And hey—if your bread still flops? At least now you’ve got toast. (But seriously, check that paddle.)
Like a flip phone in 2005, some tools just work better than others. 🥖