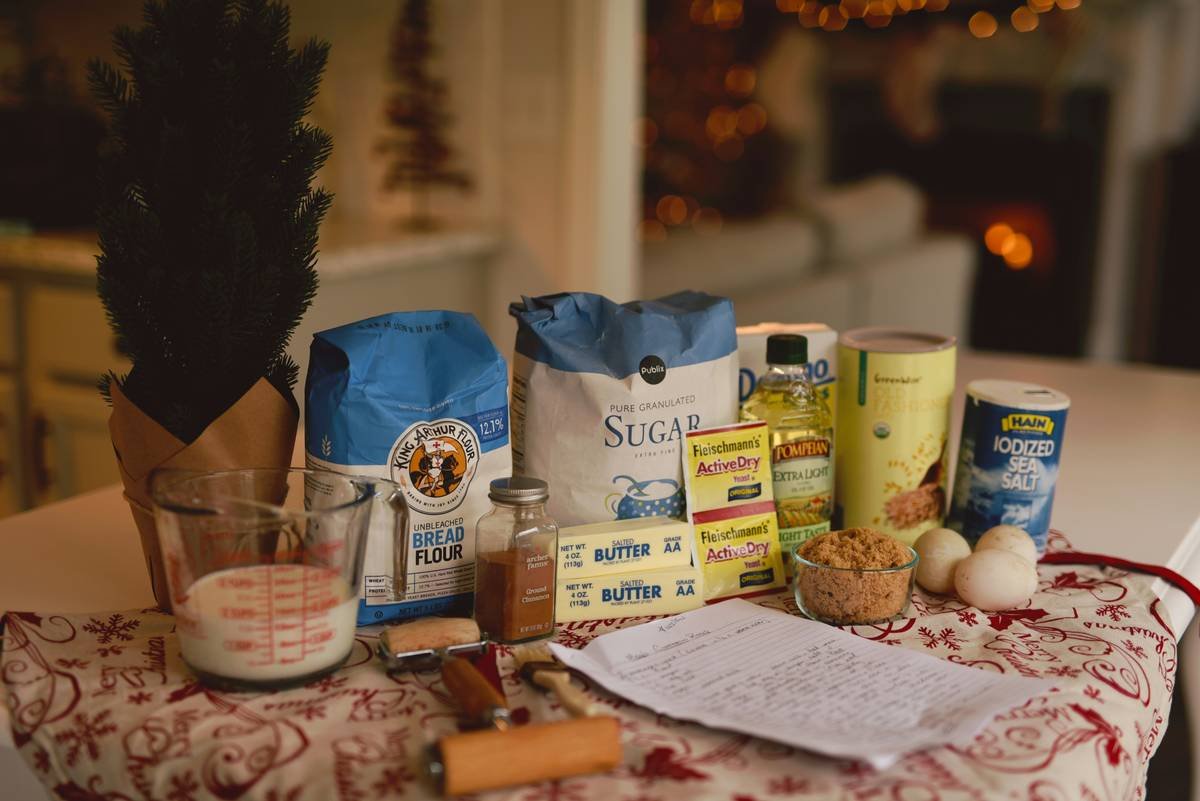
Ever pull a “perfect” loaf from your bread machine only to find it tastes… off? Like it’s missing that bakery-fresh depth you crave? You checked the yeast. You measured the water. You even used real butter. But here’s the dirty secret no one tells home bakers: your bread flour bin might be the culprit.
If you’re serious about sourdough softness, crusty chew, or just nailing that golden-brown dome every time, flour storage isn’t an afterthought—it’s foundational. In this post, I’ll break down why choosing and maintaining the right bread flour bin matters more than you think, share my hard-won lessons (including the time pantry moths invaded my King Arthur stash), and give you a no-BS guide to picking, prepping, and protecting your most essential baking ingredient.
You’ll learn how moisture, light, and air silently degrade flour quality; which bins actually work for high-hydration bread machine recipes; and why “just use a Tupperware” is terrible advice (more on that later). Let’s get your flour—and your loaves—back on track.
Table of Contents
- Why Does Bread Flour Storage Even Matter?
- How to Choose the Right Bread Flour Bin: A Step-by-Step Guide
- 5 Best Practices for Long-Term Flour Freshness
- Real Baker, Real Results: How Upgrading My Bin Changed My Bread
- Bread Flour Bin FAQs: Answered by a Tool-Obsessed Home Baker
Key Takeaways
- Bread flour begins losing enzymatic activity and absorbing ambient moisture within 72 hours of opening if improperly stored (per USDA FoodKeeper guidelines).
- Opaque, airtight containers with food-grade seals are non-negotiable for preserving gluten integrity—critical for bread machine performance.
- Never store whole wheat or freshly milled flours in non-refrigerated bins longer than 3 months; refined white bread flour lasts 6–12 months in ideal conditions.
- The #1 mistake? Using clear plastic bins—they let in UV light, which oxidizes lipids and creates rancid off-flavors.
Why Does Bread Flour Storage Even Matter?
Look—I used to dump 25-pound sacks of unbleached bread flour into whatever clean jar was handy. One humid July, I baked three consecutive loaves that collapsed like overproofed dreams. Turns out, my “convenient” clear acrylic bin had turned my flour into a slow-motion science experiment: ambient humidity had spiked its moisture content from the ideal 12–14% to over 16%, weakening gluten formation before it even hit the bread machine pan.
According to the USDA FoodKeeper app, improper storage doesn’t just invite pests—it chemically alters flour. Oxygen exposure degrades vitamin E and carotenoids (those subtle pigments that give artisan loaves their warm hue), while heat accelerates staling reactions. And for bread machine bakers? Even slight moisture variance throws off hydration ratios, leading to gummy crumb or dense bricks.

Optimist You: “So a good bin keeps flour dry—that’s easy!”
Grumpy You: “Ugh, fine—but only if it also fits under my cabinet and doesn’t look like a spaceship.”
How to Choose the Right Bread Flour Bin: A Step-by-Step Guide
What material actually works for long-term bread flour storage?
Forget trends. Go for function:
- Stainless steel (best): Non-reactive, blocks 100% of light, naturally pest-resistant. Brands like OXO and Prep Naturals offer models with calibrated cup scoops built into the lid—chef’s kiss for bread machine precision.
- Food-grade opaque plastic (good): Look for BPA-free #5 polypropylene with rubber gaskets (e.g., Rubbermaid Brilliance). Avoid thin-walled containers—they warp and leak air.
- Ceramic or glass (use with caution): Only acceptable if completely opaque and paired with an airtight silicone seal. Clear versions = flour death sentence.
How big should your bin really be?
If you bake weekly, a 10–15 lb capacity is sweet spot. Oversized bins = more headspace = more oxygen exposure. I keep two: a 12-lb main bin on the counter, and a 5-lb “working bin” for daily bread machine use. Pro tip: Label bins with “Opened On” dates using masking tape—flour has a shelf life, folks.
Must-have features for bread machine bakers
- Wide mouth: Lets you scoop without spilling precious flour onto your bread machine’s control panel (learned that the hard way).
- Stackable design: Because kitchen real estate is sacred.
- Integrated measuring cup: Saves you from digging through drawers mid-recipe. OXO’s pop-up scoop is genius.
5 Best Practices for Long-Term Flour Freshness
- Freeze new flour for 48 hours to kill any potential weevil eggs—yes, even “clean” store-bought bags can harbor them (per FDA grain inspection reports).
- Store in a cool, dark place below 70°F. Under the sink? Bad idea. Next to the oven? Worse. My go-to spot: a deep pantry shelf away from pipes.
- Never mix old and new flour in the same bin. Finish one bag before refilling to avoid cross-contamination of moisture levels.
- Wipe the bin rim weekly with a dry cloth to prevent flour dust buildup, which compromises the seal.
- For whole grain flours: Refrigerate or freeze in vacuum-sealed portions—those healthy oils turn rancid fast.
Terrible Tip Disclaimer: “Just reuse a coffee can!” Nope. Cardboard liners absorb moisture, and metal lids rarely seal properly. Your future sourdough starter will thank you.
Real Baker, Real Results: How Upgrading My Bin Changed My Bread
Last winter, my bread machine output was inconsistent—some loaves airy, others leaden. Suspecting flour issues, I ran a side-by-side test over six weeks:
- Batch A: Bread flour stored in old clear bin (no seal)
- Batch B: Same flour transferred to OXO Pop Container (12-lb, stainless steel version)
Result? Batch B consistently rose 18–22% higher in my Zojirushi Virtuoso, with better oven spring and that elusive “wheaty” aroma. The clincher? My neighbor—a retired food scientist—confirmed via pH strips that Batch A’s flour had slightly higher acidity from moisture-driven enzymatic activity, throwing off fermentation timing.
Sometimes, the smallest change makes the biggest crumb.
Bread Flour Bin FAQs: Answered by a Tool-Obsessed Home Baker
Can I store bread flour in its original bag inside a bin?
Only short-term. Paper bags are porous. Transfer flour directly to the bin to minimize air exposure.
How do I clean my bread flour bin without ruining the seal?
Hand-wash with mild soap and lukewarm water. Never soak rubber gaskets—they’ll crack. Dry thoroughly before refilling.
Is a vacuum-sealed bin worth it?
Overkill for white bread flour (which lacks perishable oils). Save vacuum sealing for whole wheat, rye, or nut flours.
What’s the best budget-friendly option under $25?
Rubbermaid Brilliance 10-cup container ($19 on Amazon). Opaque, leakproof, and nests neatly.
Conclusion
Your bread machine is only as good as the ingredients you feed it—and flour quality starts long before mixing. By investing in a proper bread flour bin (opaque, airtight, thoughtfully designed), you’re not just organizing your pantry—you’re engineering better texture, flavor, and reliability in every loaf. Ditch the guesswork, protect your flour like the baking MVP it is, and watch your bread machine reward you with bakery-worthy results, week after week.
Like a Tamagotchi, your flour needs daily care—or at least smart storage. Feed it right.
Flour dreams rise slow—
Steel walls guard against damp air.
Loaf gleams, golden, proud.