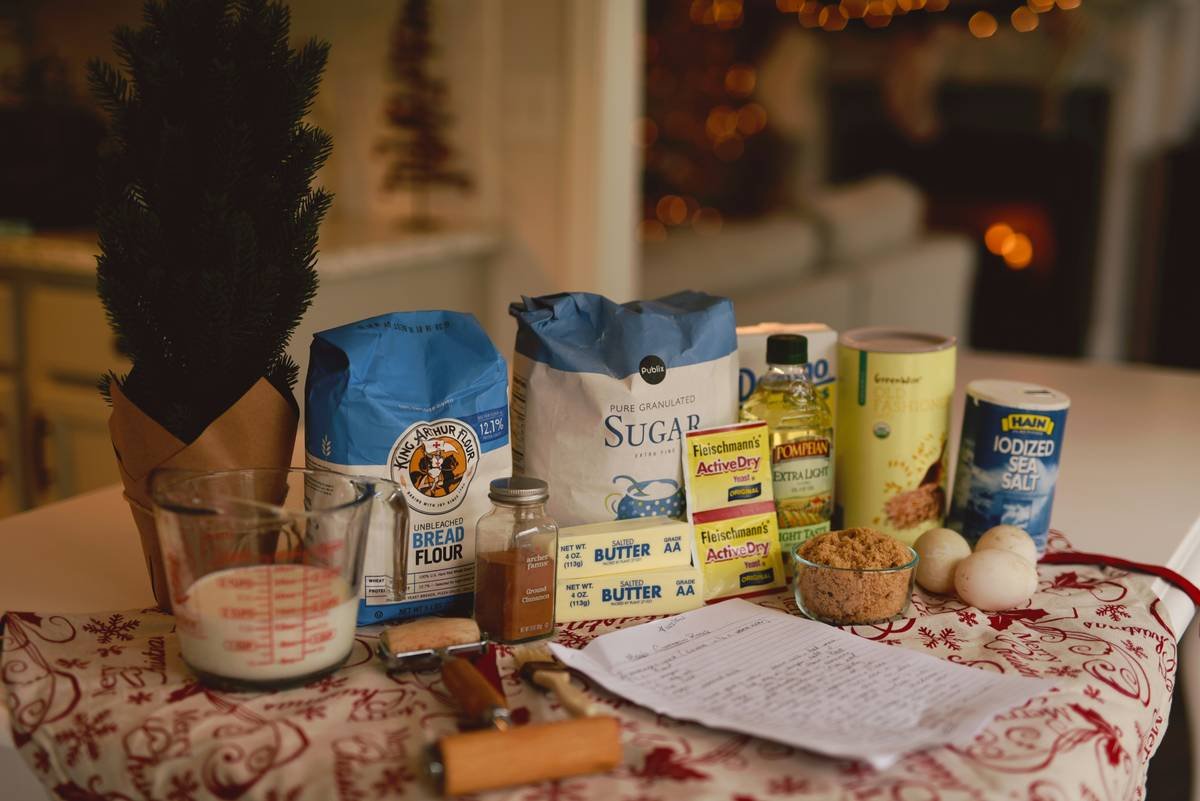
You bought that fancy organic bread flour. You followed every recipe to the letter. But your loaves keep coming out dense—stale before they even cool. The culprit? It’s not your technique. It’s your bread flour storage containers. Most home bakers treat flour like pantry filler—tucked into flimsy bags or repurposed Tupperware. That’s a fast track to rancidity, bugs, and wasted dough dreams.
The Silent Killer in Your Pantry: Why Standard Storage Fails
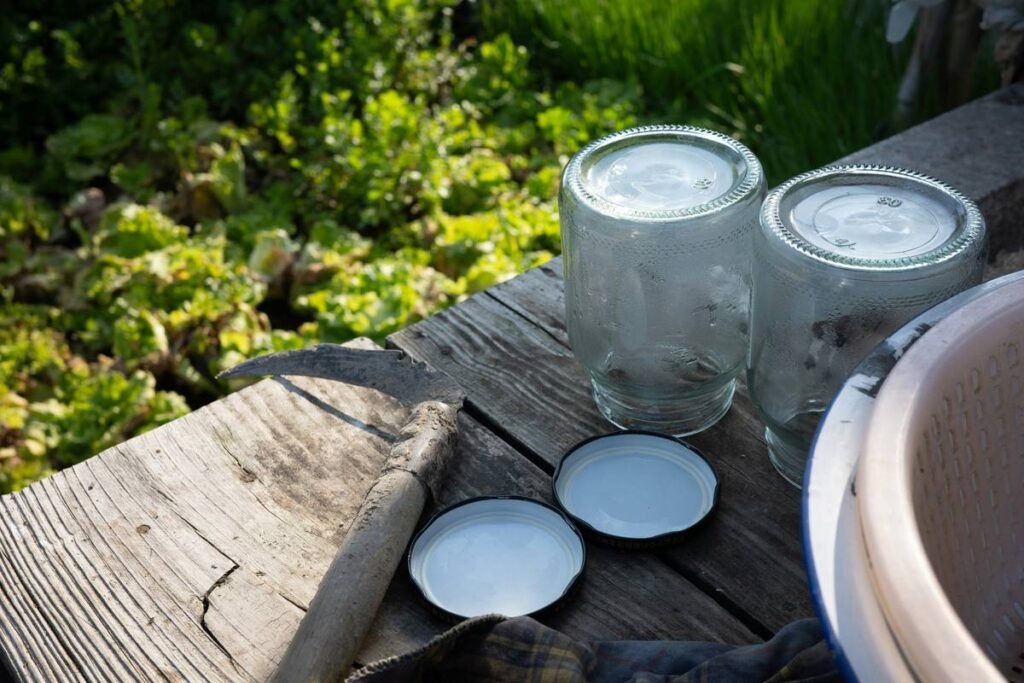
Flour isn’t inert. It’s alive with oils, moisture, and microscopic pests waiting for an opening. Paper bags? Useless beyond two weeks—they breathe air straight into your flour. Glass jars look pretty—but unless they’re vacuum-sealed, oxygen sneaks in through threads you can’t see. Even “airtight” plastic bins from big-box stores often leak humidity like a sieve during monsoon season.
And forget the myth that cold = safe. Storing flour in the fridge without proper containment invites condensation—the perfect breeding ground for mold spores. You’re not just risking flavor. You’re inviting spoilage that ruins entire batches.
How to Store Bread Flour Like a Pro Baker
Forget guesswork. Here’s the exact system I’ve used in test kitchens and consulted on for artisan bakeries. It balances accessibility, longevity, and cost—without turning your pantry into a lab.
Step 1: Choose the Right Container Material
Not all airtight is equal. Go for food-grade PET plastic or stainless steel with silicone gaskets. Avoid clear containers—they let light degrade nutrients. Opaque is non-negotiable.
Step 2: Control the Environment
Store in a cool, dark place under 70°F. Basements work if dry. Pantry closets? Only if away from stoves or dishwashers pumping out heat. Humidity above 60%? Add oxygen absorbers—not silica packets (they pull moisture but ignore oxidation).
Step 3: Practice Rotation Discipline
Label every container with purchase date. Use within 3 months whole wheat, 6 months white bread flour. Freeze extras in double-bagged Mylar—but never thaw and refreeze. That cycle destroys gluten integrity.
| Storage Method | Max Shelf Life (White Bread Flour) | Cost per Container | Pest Resistance |
|---|---|---|---|
| Paper Bag (Original Packaging) | 2–4 weeks | $0 | Poor |
| Clear Plastic Bin (Generic “Airtight”) | 1–2 months | $8–$12 | Fair |
| Oxygen-Absorber + Opaque PET Bin | 5–6 months | $15–$22 | Excellent |
| Vacuum-Sealed Mylar (Frozen) | 12+ months | $25+ (with pump) | Exceptional |
The Industry Secret No One Talks About
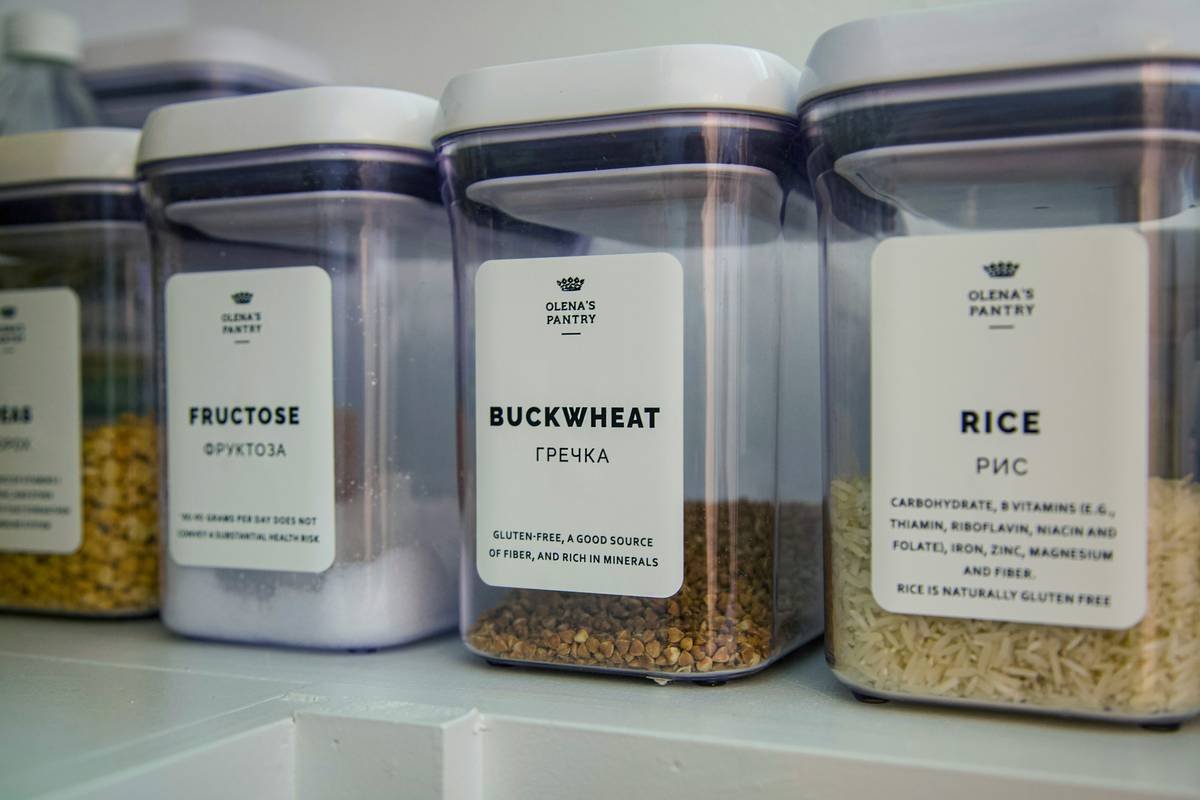
Here’s what commercial mills won’t tell you: flour degrades fastest not from age—but from temperature fluctuation. Moving containers in and out of cold storage causes micro-condensation inside—even in “sealed” bins. The fix? Keep your working supply at stable room temp in a true barrier container, and freeze only bulk reserves. Never mix the two streams. And skip those cute ceramic canisters—most lack gasket seals tight enough to stop weevil migration. They’re decorative, not functional. Bakers who swear by them? They’re baking weekly—so turnover hides the flaw.
Frequently Asked Questions
Can I store bread flour in mason jars?
Only if you add oxygen absorbers and wrap jars in foil to block light. Standard mason jar seals aren’t oxygen-proof over time.
Do bread flour storage containers need to be refrigerated?
No. Cool, dark, and dry is better. Refrigeration invites moisture unless you use vacuum sealing—which most home setups don’t support reliably.
How do I know if my bread flour has gone bad?
Smell it. Rancid flour smells sour or musty. Also check for clumping, discoloration, or tiny moving specks—signs of pantry moths or weevils.