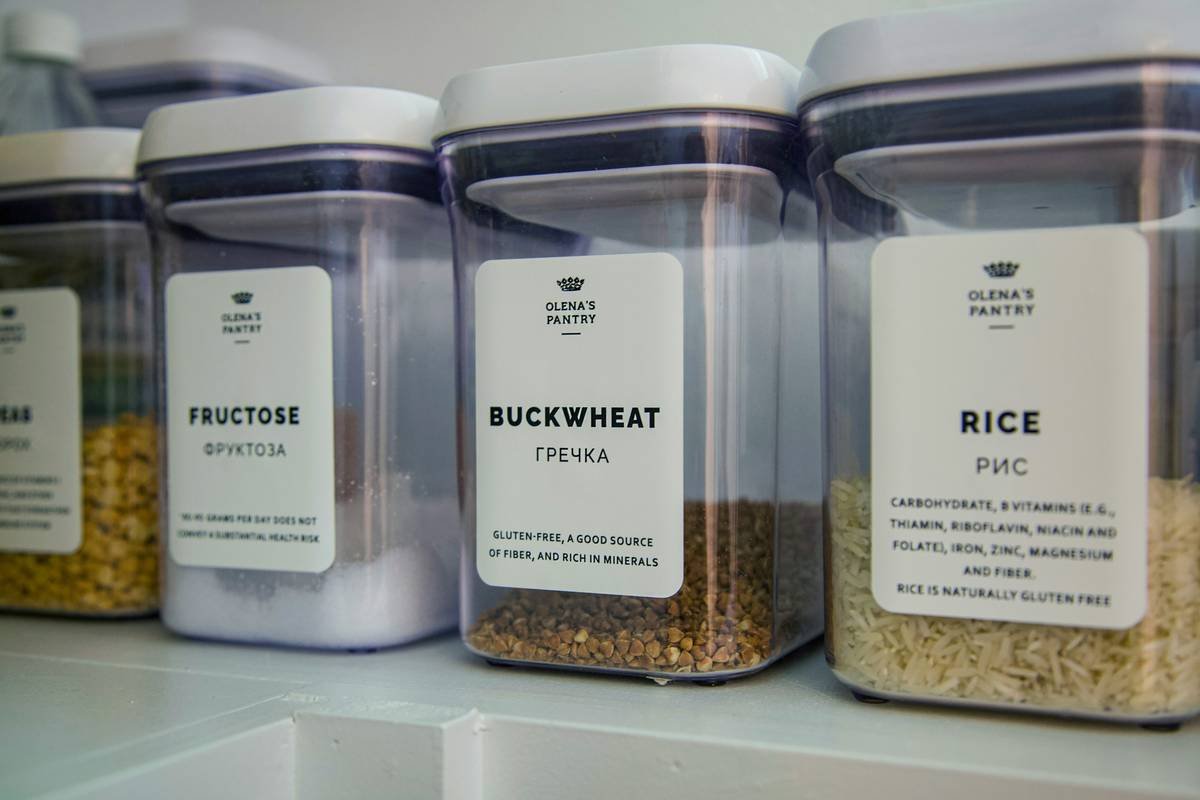
You bought premium bread flour. You calibrated your bread machine. You followed every recipe to the gram. Yet your loaves keep collapsing like deflated balloons. The culprit? Not your technique—it’s your bread flour storage bin. Most home bakers stash flour in whatever container looks “airtight” on the countertop, blindly trusting it preserves freshness. But moisture, light, and oxygen silently degrade flour long before you notice off smells or clumps—killing gluten strength and yeast activity before dough even forms.
The Hidden Flaw in Standard Bread Flour Storage
Plastic deli containers? Repurposed cookie tins? Glass jars from pasta sauce? All fail where it matters most: vapor transmission rate (VTR). Most consumer-grade bins leak humidity like a sieve in monsoon season—even if they feel “sealed.” And here’s what no one tells you: bread flour is hygroscopic. It actively sucks moisture from the air. Just 3% extra humidity triggers enzymatic breakdown of starches, weakening dough structure. Your sourdough starter might survive—but commercial yeast in bread machine cycles won’t recover.
Think about it. That “convenient” bin near your oven gets blasted with heat every time you bake. Temperature swings accelerate rancidity in whole wheat blends. And clear containers? UV rays degrade vitamin E—a natural antioxidant that slows oxidation. You’re not just storing flour. You’re conducting slow-motion sabotage.
Build an Airtight, Climate-Controlled Bread Flour Storage Bin System
Pick the Right Container Material
Forget aesthetics. Go metal or food-grade HDPE plastic with gasket seals. Stainless steel buckets with gamma lids outperform glass—they block light completely and have near-zero VTR. Avoid BPA-lined cans; they can impart metallic notes over time.
Location Matters More Than You Think
Store your bin in a cool, dark pantry—not under the sink (humidity!) or beside the dishwasher (heat cycles!). Ideal temp: below 70°F (21°C). Basements work only if dehumidified. Garages? Forget it unless climate-controlled.
Add Oxygen Absorbers—Not Just Desiccants
Silica gel beads fight moisture but do nothing for oxygen. Toss in a 300cc oxygen absorber per 5 lbs of flour. They scavenge O₂ that causes lipid oxidation—the real reason flour turns bitter. Replace every 6 months.

| Storage Method | Flour Shelf Life | Oxygen Protection | Cost (per 5 lbs) |
|---|---|---|---|
| Original Paper Bag | 1–2 months | None | $0 |
| Plastic Food Container (no seal) | 2–3 months | Poor | $5–$8 |
| Glass Jar with Rubber Gasket | 4–5 months | Moderate | $12–$18 |
| Stainless Steel Gamma Bucket + O₂ Absorber | 9–12 months | Excellent | $22–$30 |
The Baker’s Secret: Pre-Chill Your Flour Before Baking
Most bread machine recipes assume room-temp flour. Wrong. Here’s the industry trick: pull your flour from cold storage and use it straight from the bin—without warming it up. Cooler flour (55–65°F) slows initial yeast fermentation, giving gluten more time to develop before the first rise. Result? Better oven spring and tighter crumb structure. Commercial bakeries refrigerate bulk flour bins for this exact reason. You don’t need a fridge—just skip the “let it sit on counter” habit. And never store flour above your stove. Heat rises, and so does degradation.
Frequently Asked Questions
Can I store bread flour in a Mason jar?
Only short-term. Mason jars lack true airtight seals and transmit light. Use within 2 months—and add an oxygen absorber.
How do I know if my bread flour has gone bad?
Smell it. Rancid flour smells musty or like old crayons. Also check for webbing or live insects—signs of poor sealing.
Does freezing bread flour extend its life?
Yes—but only if double-bagged to prevent freezer burn. Thaw completely before opening to avoid condensation. Not ideal for daily bread machine use.