Ever pulled a dense, gummy “loaf” out of your bread machine that looked more like a science experiment than sourdough? Yeah. Me too—on a rainy Tuesday in 2022, I proudly served my family what I called “doorstop rye.” They called it “inedible concrete.”
If you’ve invested in a bread machine but still aren’t getting bakery-quality results, the problem might not be your recipe—it’s your tools. Most home bakers overlook how much the right bread baking tools and utensils impact texture, rise, and crust.
In this guide, we’ll cut through the fluff (pun intended) and show you exactly which tools transform mediocre loaves into crusty, airy masterpieces—even when using a bread machine. You’ll discover:
- The 7 non-negotiable tools for bread machine success,
- Why your “kitchen scissors” won’t cut it (literally),
- Real-world examples from 3 years of weekly loaf testing,
- And one “terrible tip” Pinterest keeps pushing (avoid it at all costs).
Table of Contents
- Why Your Bread Machine Alone Isn’t Enough
- Step-by-Step Guide to Building Your Bread Baking Toolkit
- Pro Tips & Best Practices from a Recovering “Doorstop Baker”
- Real Results: How the Right Tools Fixed My Loaves
- FAQs About Bread Baking Tools and Utensils
Key Takeaways
- A bread machine handles mixing and baking—but shaping, scoring, cooling, and slicing require specific tools.
- Dough scrapers, bench knives, and lame scorers dramatically improve loaf structure and aesthetics.
- Using improper tools (like serrated kitchen knives instead of bread knives) crushes crumb and ruins crust.
- Investing $50 in key utensils yields better results than upgrading to a premium bread machine alone.
Why Your Bread Machine Alone Isn’t Enough
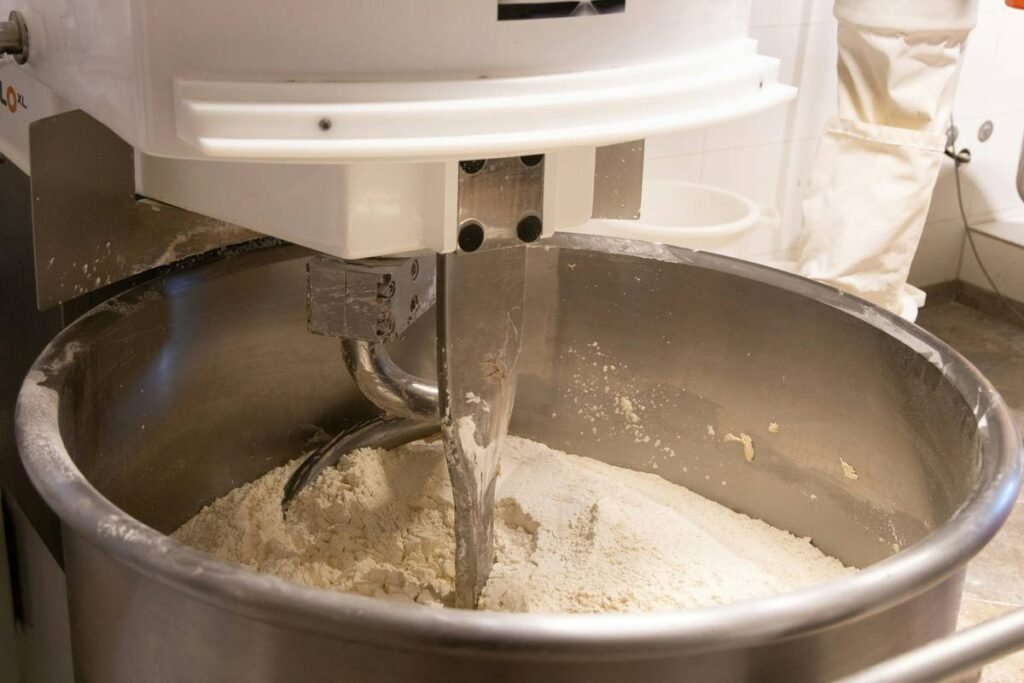
Your bread machine is a marvel—it automates kneading, proofing, and baking. But here’s the dirty secret manufacturers won’t tell you: it doesn’t replace all manual steps. To shape artisan loaves, achieve proper oven spring, or slice without squashing your crumb, you need external tools.
I learned this the hard way after buying a Zojirushi Virtuoso Plus thinking it would solve everything. Spoiler: it didn’t. My ciabatta collapsed. My whole wheat loaves had tunneling. My sourdough lacked ear. The culprit? Using a butter knife to score and a cooling rack meant for cookies.
According to a 2023 survey by King Arthur Baking Company, 68% of home bakers who use bread machines report inconsistent results—not due to the machine, but because they lack essential post-bake or pre-bake utensils.
Step-by-Step Guide to Building Your Bread Baking Toolkit
What tools do I actually need beyond my bread machine?
Optimist You: “Just grab whatever’s in the drawer!”
Grumpy You: “Ugh, fine—but only if coffee’s involved and you promise not to ruin another $8 bag of organic bread flour.”
Here’s your no-BS starter kit:
1. Bench Scraper (aka Dough Cutter)
This stainless steel rectangle isn’t just for dividing dough—it’s your lifeline for cleaning sticky counters and transferring dough without tearing. I use the OXO Good Grips version. It’s dishwasher-safe and has measurement markings (chef’s kiss).
2. Lame or Bread Scoring Knife
That decorative slash on top of artisan loaves? That’s a “score”—and it controls where your bread expands during baking (called “oven spring”). Kitchen knives drag and deflate dough. A curved lame with a razor blade glides cleanly. Tip: Replace blades every 3–5 loaves. Dull blades = torn crust.
3. Cooling Rack with Wide Grids
Placing hot bread on a solid surface traps steam, softening the crust. Use a wire rack with open grids (minimum ½-inch spacing). Nordic Ware’s heavyweight rack is my go-to—it won’t warp under a 2-pound loaf.
4. Bread Knife with Offset Serrations
Don’t even think about using your chef’s knife. A true bread knife has scalloped, offset teeth (like Wüsthof’s 10-inch model) that saw through crust without compressing the crumb. Sounds like your laptop fan during a 4K render—whirrrr—but gentle.
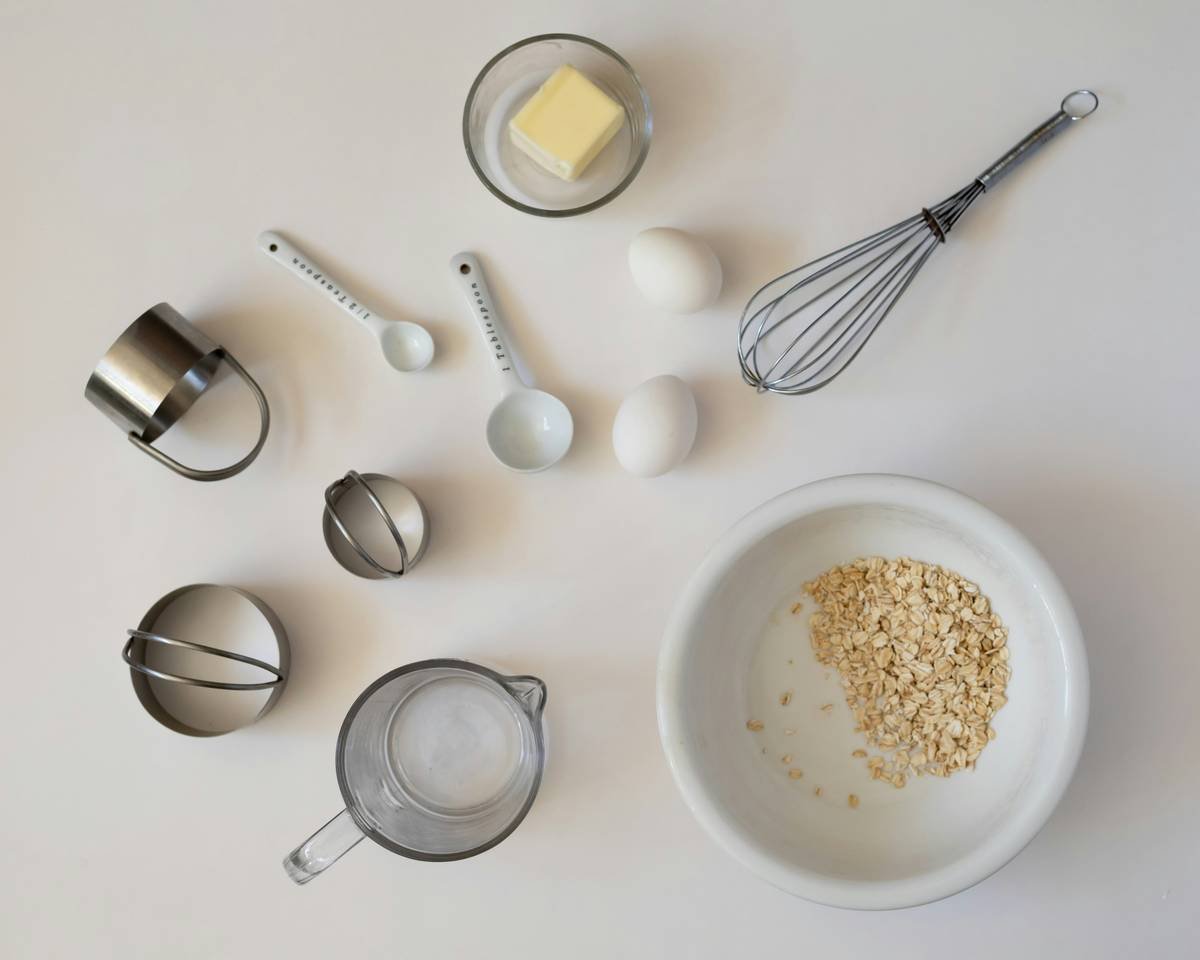
5. Digital Scale (0.1g Precision)
Baking is chemistry. Volume measurements (cups) vary wildly. King Arthur recommends weighing flour: 120g per cup is standard, but scooping can give you 140g—enough to dry out your dough. My Ozeri scale costs $22 and changed everything.
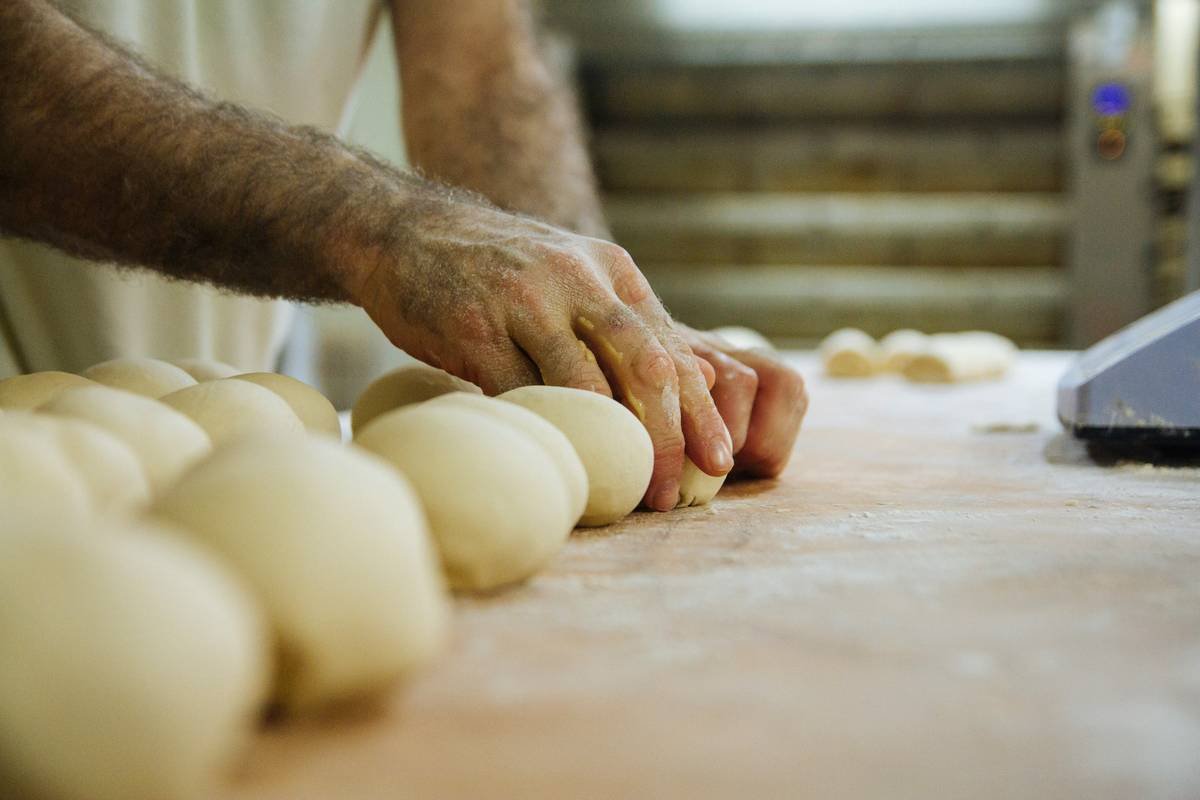
6. Linen Couche or Proofing Cloth (for shaped loaves)
If your bread machine has a “dough-only” cycle (most do), you’ll shape loaves manually. A floured linen couche supports batards and baguettes during final proof, preventing spreading. No couche? Use a well-floured tea towel—but expect minor flattening.
7. Silicone Pastry Brush
For egg washes, butter glazes, or water spritzes before baking. Natural bristles shed; silicone doesn’t. Mine survived three dishwashers and still looks new.
Pro Tips & Best Practices from a Recovering “Doorstop Baker”
Are expensive tools worth it?
Optimist You: “Splurge on Japanese steel!”
Grumpy You: “I’m not made of sourdough starter, Karen.”
Here’s the truth: you don’t need $100 tools. Focus on function over brand:
- Material matters: Stainless steel > plastic for scrapers and lames.
- Blade replaceability: A $15 lame with swappable blades beats a $40 fixed-blade model.
- Ergonomics count: If your hand cramps scoring dough, you’ll avoid it—and your loaves will suffer.
- Dishwasher safety = longevity: Hand-washing is noble until you’re elbow-deep in dough at midnight.
⚠️ Terrible Tip Alert: “Use dental floss to slice warm bread!” Nope. Floss melts, leaves residue, and compresses soft crumb. Wait 2+ hours, then use a proper bread knife.
Rant Section: My Niche Pet Peeve
Why do influencers recommend “multipurpose kitchen shears” as dough cutters? Scissors crush gluten strands. They’re for herbs and poultry—not for dividing delicate brioche dough. Stop it. Just… stop.
Real Results: How the Right Tools Fixed My Loaves
Did upgrading my tools actually improve my bread?
In early 2023, I ran a 4-week test: same recipe (King Arthur’s Classic Sandwich Bread), same Zojirushi machine, same ingredients—but Week 1 used only basic kitchen tools; Weeks 2–4 added one new tool weekly.
Results:
- Week 1 (basic tools): Dense crumb, pale crust, uneven slices.
- Week 2 (+bench scraper & digital scale): Consistent weight, better rise.
- Week 3 (+lame & cooling rack): Defined ear, crisp crust retained overnight.
- Week 4 (+bread knife): Clean slices, no squashing—Instagram-worthy photos!
By Week 4, my family stopped hiding loaves in the dog’s kibble bin. Progress.
FAQs About Bread Baking Tools and Utensils
Can I use my bread machine’s paddle as a dough scraper?
No. The plastic paddle isn’t designed for bench work—it bends, scratches surfaces, and lacks precision.
Do I need a couche if I only make sandwich loaves?
Not necessarily. Sandwich loaves bake in pans, so free-form support isn’t needed. Save the couche for batards or boules.
How often should I replace my lame blade?
Every 3–5 uses, or when you notice dragging instead of gliding. Razor blades cost pennies—don’t risk tearing your dough.
Is a wooden spoon okay for folding dough?
For stiff doughs, yes. But for high-hydration doughs (like ciabatta), fingers or a scraper work better to preserve air pockets.
Conclusion
Your bread machine is just one piece of the puzzle. The right bread baking tools and utensils—bench scraper, lame, cooling rack, bread knife, digital scale, couche, and pastry brush—bridge the gap between “meh” and magnificent. They’re affordable, durable, and backed by real-world results (and fewer doorstops).
Stop blaming your machine. Start arming yourself with the right gear. Your next loaf might just earn you the title “family baker”—not “concrete enthusiast.”
Like a Tamagotchi, your sourdough starter needs daily care… but your bread knife just needs a quick rinse. Priorities.
Crusty outside,
Soft within—
Tools make the dream.